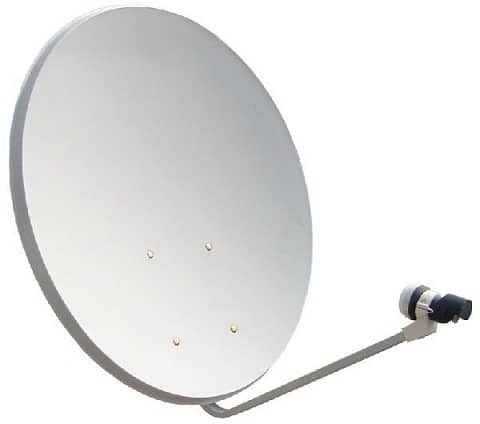
Installing a DStv system could be quite a challenging task considering the many technicalities involved. Basically, all we need is a
satellite dish pan properly positioned to face up to a satellite in space. We also need a signal
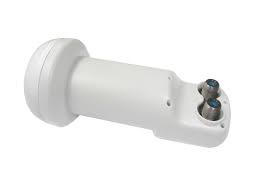
capturing device known as the LNB fixed on the dish which transmits the captured
signals down to our decoders via connection cables, then unto our televisions.
In this post, I shall explain to you
in details how to install a DStv satellite dish. Setting up your DStv
system usually require a degree of technical expertise to achieve the
best result. Therefore in
doing this effectively, certain rules need to be observed. The dish pan comes with smaller pieces of accessories, which
must be knotted in place properly to attain the balance and accurate
positioning of the dish pan to the air space above.
To avoid any form
of obstacle in receiving your satellite signal, there must be an free
open space
between the satellite dish and the sky above to ensure maximum contact
between the dish pan and the space satellite. If this is achieved, the
satellite dish receives its signals directly from space satellite
without hindrance.
After fixing the accessories and the dish pan into position,
an appropriate tracking signal meter is connected while the dish pan
is swiveled or skewed in different directions. This meter must have its
parameters set to reflect the network parameters of the DStv signal. This ensures that
the signal meter detects the presence of DStv signal when the position of the dish jams upon a
signal point from the satellite.
Once signal is tracked, the dish must be locked unto that
position and its nuts and screws tightened in place. For a digital signal
tracker, it has the capacity to test the efficacy of the signal discovered via
its LED screen, by which you can watch the DStv advert or free channel – Dish on
TV.
Via the LNB connection point, draw the cable wire down to your decoder and
connect it through the LNB – IN port behind your decoder. All is not set yet…always
ensure that your installation work has a great mark for neatness. It has a way
of appealing to the eyes as well as preserving the dish in that signal-rich
position for a very long time.
When you deploy an analogue satellite finder, the indicator
reading and the high pitch sound indicates the presence of a satellite signal. However,
one needs to verify the authenticity of this signal because it could be another
digital satellite signal different from the DStv signal.
Nevertheless, lock up your dish on
such position and let your decoder scan through. If this goes successfully,
congratulations! You have done it.
If you intend to be perfect in
installing a DStv satellite dish with all the twists and turns of
setting up your DStv system, then you need to practice it regularly.
More practice will make you faster in the technical procedures as well
as giving you the desired results. One big thing about choosing your
dish position is the habitual direction of wind flow. Try to avoid
locations that receive direct and less supportive impact of the wind as
this could be detrimental to signal stability.